

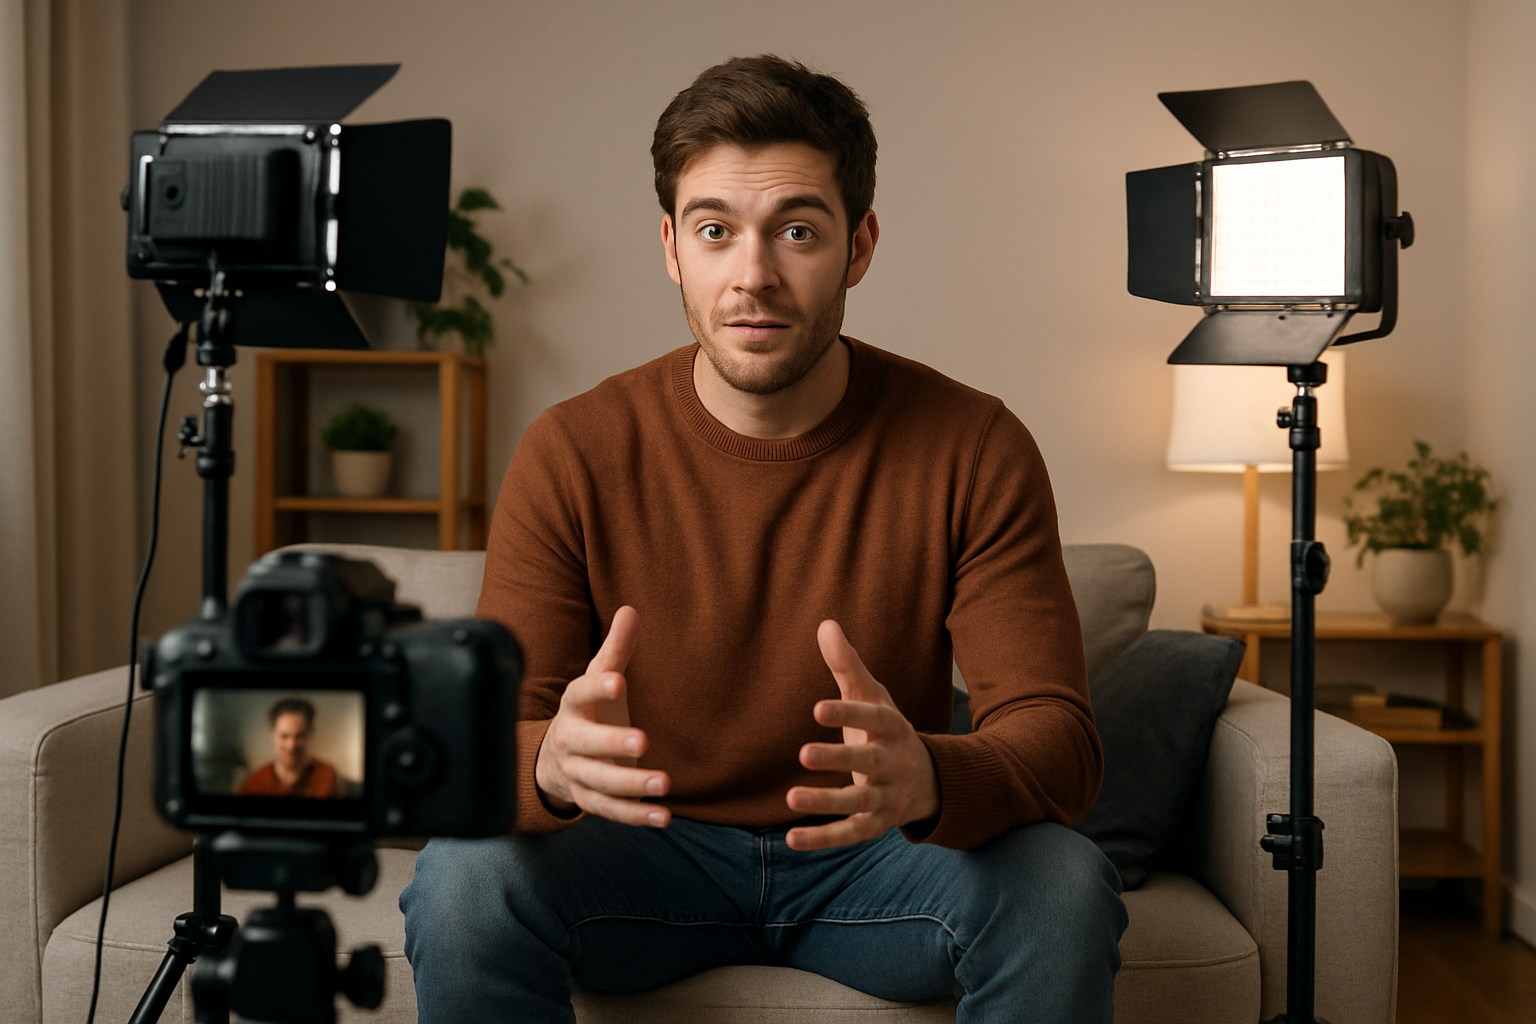
- Understanding the Fundamentals of Illumination in Video Production
- Essential Three-Point Lighting Configuration
- Key Light Positioning Techniques
- Fill Light Strategic Deployment
- Backlight Separation Methods
- Advanced Multi-Light Setups for Professional Results
- Equipment Selection and Mounting Solutions
- Common Placement Mistakes and Troubleshooting
- Specialized Lighting Scenarios and Applications
- Optimizing Your Video Light Placement Workflow
Understanding the Fundamentals of Illumination in Video Production
Professional videography demands meticulous attention to luminous orchestration. The strategic positioning of video lights transforms mundane footage into cinematic masterpieces, elevating production value through calculated photometric placement.
Video light placement serves as the cornerstone of visual storytelling. Every luminaire position influences mood, depth, and subject definition. Understanding the interplay between key lights, fill lights, and background illumination creates dimensional imagery that captivates audiences and maintains their engagement throughout your content.
The physics of light behavior governs successful video lighting setups. Inverse square law dictates that light intensity decreases proportionally to the square of distance from the source. This fundamental principle guides placement decisions, ensuring optimal exposure across your frame while maintaining consistent illumination quality.
Essential Three-Point Lighting Configuration
The triumvirate of professional video lighting consists of key light, fill light, and backlight positioning. This time-tested configuration provides dimensional modeling while maintaining controllable contrast ratios throughout your production environment.
Key Light Positioning Techniques
Your primary illumination source, the key light, establishes the dominant lighting direction and mood. Position this luminaire at approximately 45 degrees horizontally from your camera axis and 30 degrees vertically above your subject's eye line. This angular placement creates natural-looking shadows that define facial contours without producing unflattering occlusion patterns.
Consider the color temperature characteristics of your key light when determining placement distance. Tungsten sources require greater separation to prevent excessive heat generation, while LED panels offer flexibility in proximity positioning. The key light should typically provide 2-3 stops more illumination than your fill light to maintain proper modeling ratios.
Fill Light Strategic Deployment
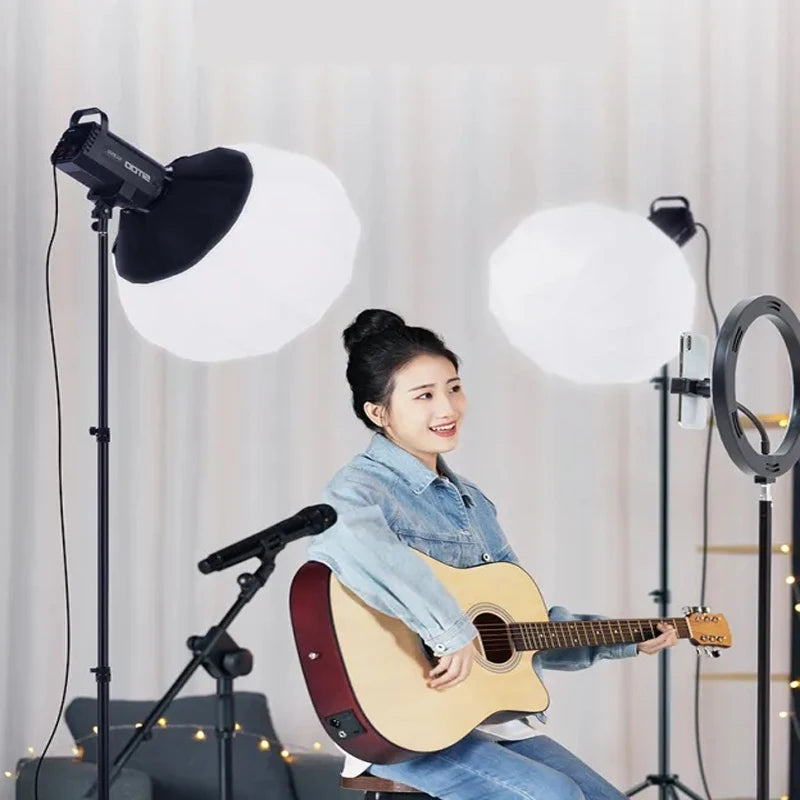
Fill illumination softens harsh shadows created by your key light without eliminating them entirely. Position your fill light opposite your key light, maintaining approximately 2:1 or 3:1 lighting ratios for natural appearance. Diffusion materials such as softboxes or silk panels reduce the fill light's intensity while creating broader, more flattering illumination coverage.
The fill light's distance from your subject directly affects shadow density and contrast. Closer placement reduces shadow depth but may create dual catchlights in your subject's eyes. Optimal fill light positioning maintains shadow detail while preserving the dimensional quality established by your key light.
Backlight Separation Methods
Hair lights or rim lights create subject separation from background elements through edge illumination. Mount backlights on boom arms or ceiling-mounted fixtures to achieve proper positioning without equipment visibility in your frame. The backlight intensity should complement your key light without overpowering foreground illumination.
Backlight placement requires precise angular control to prevent lens flare while maintaining effective subject outlining. Position these luminaires directly opposite your camera lens, slightly elevated to graze your subject's shoulders and hair with subtle illumination.
Advanced Multi-Light Setups for Professional Results
Complex productions benefit from expanded lighting configurations that incorporate background lights, practical lights, and specialized accent illumination. These sophisticated arrangements require careful power management and coordinated control systems.
"Lighting is not about the quantity of fixtures, but the quality of their placement and the harmony of their combined effect on your visual narrative."
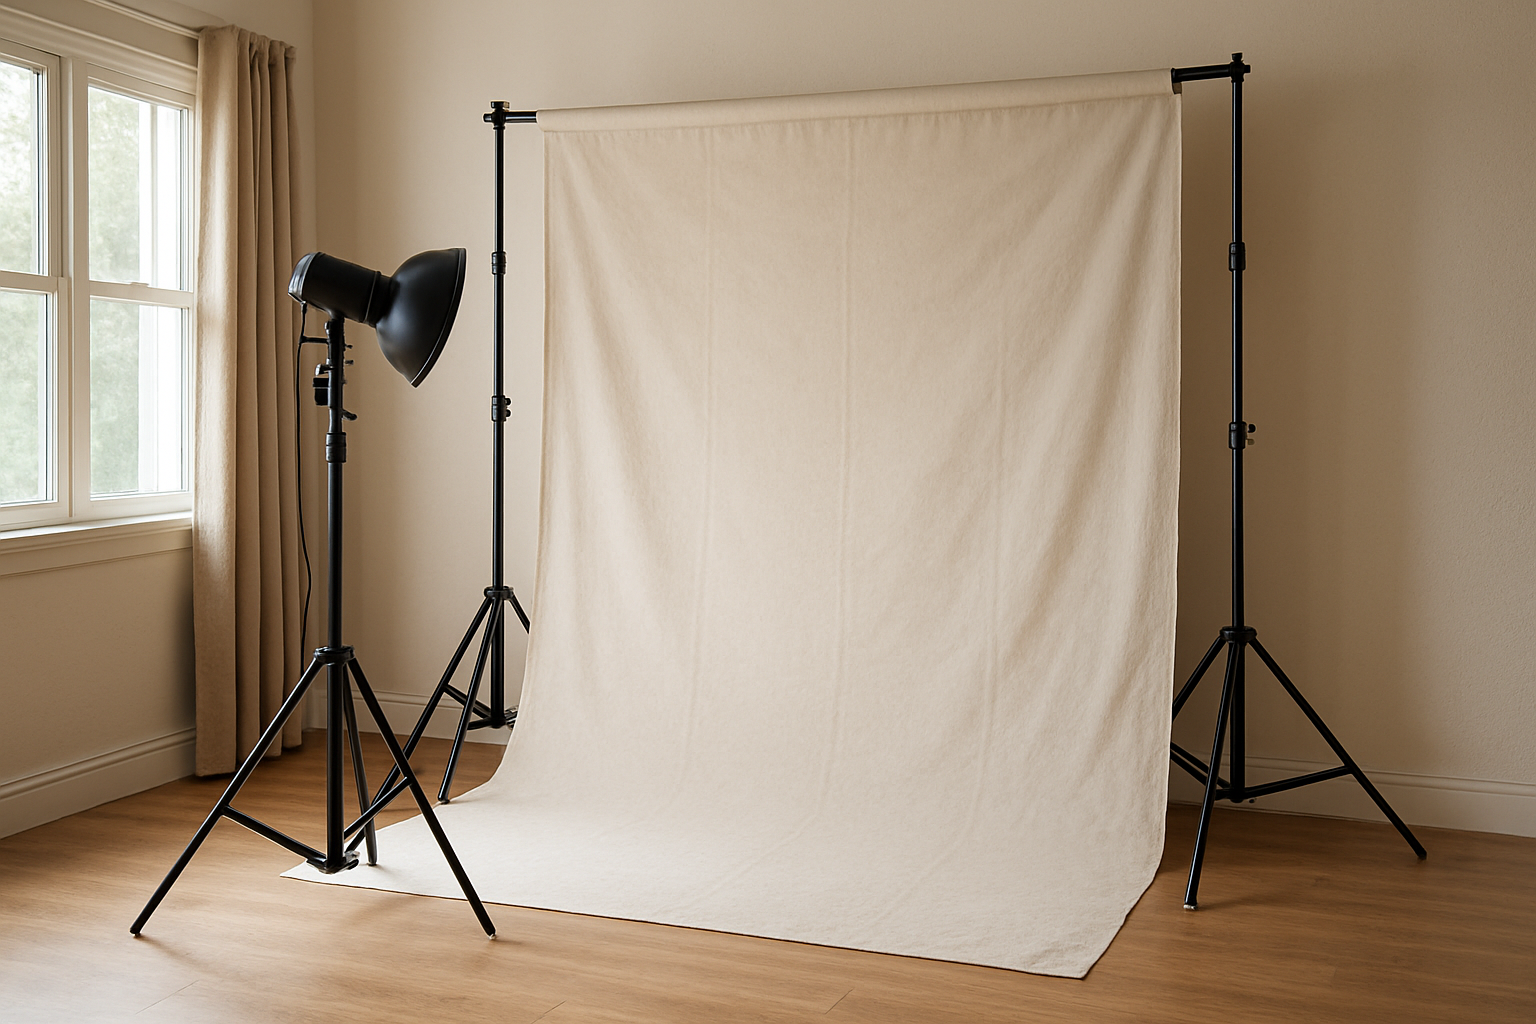
Background illumination prevents subjects from disappearing into dark environments while maintaining visual interest. Gradient lighting across backgrounds creates depth perception and professional polish. Use barn doors or snoots to control light spill and maintain clean background separation.
Practical lights within your scene provide motivated lighting sources that appear natural to viewers. Table lamps, window light, or decorative fixtures justify your lighting setup while contributing to the overall illumination scheme. Balance practical light output with your primary lighting to maintain exposure consistency.
Equipment Selection and Mounting Solutions
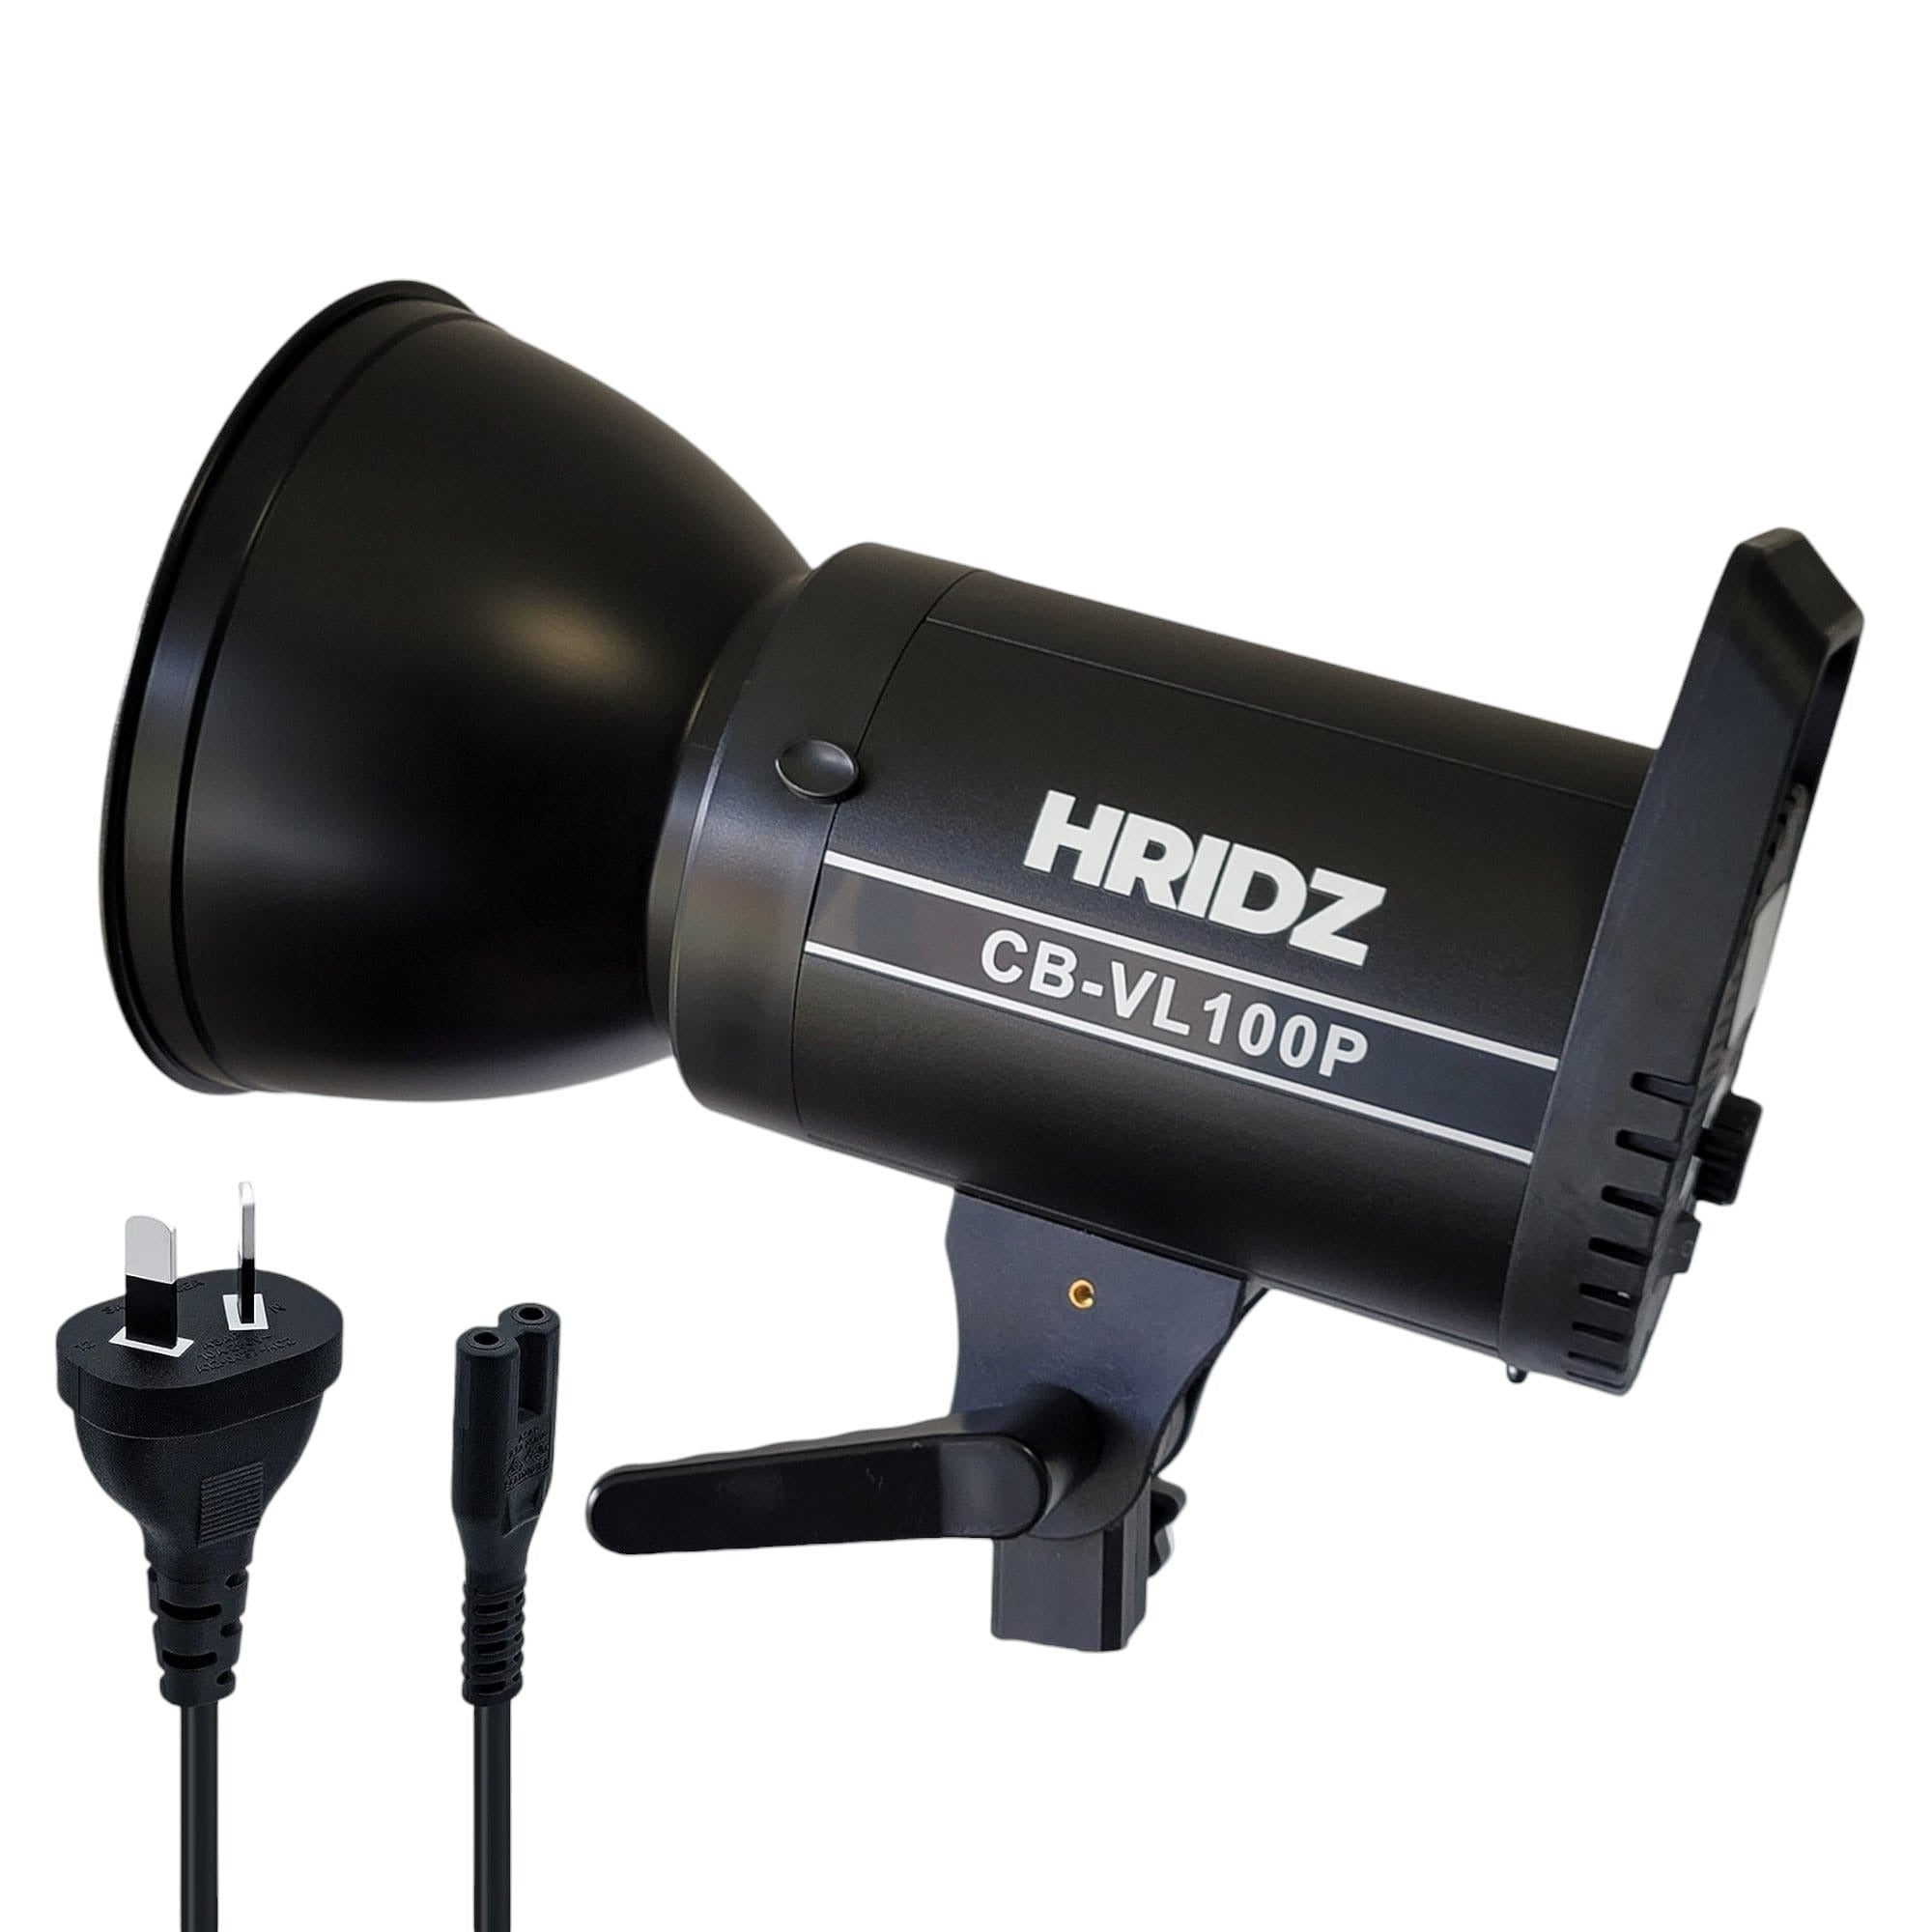
Light stand stability directly impacts your lighting precision and safety protocols. Heavy-duty stands prevent luminaire movement during production while providing adequate height adjustment for various positioning requirements. Counter-weighted boom arms extend positioning flexibility for overhead and side-angle placements.
| Light Type | Recommended Distance | Typical Power Range | Best Applications |
|---|---|---|---|
| LED Panel | 2-6 feet | 30-100W | Interview, Close-up |
| Fresnel | 6-12 feet | 150-650W | Key Light, Background |
| Softbox | 3-8 feet | 200-400W | Portrait, Fill Light |
Mounting hardware compatibility ensures reliable fixture attachment across different lighting scenarios. Universal spigot adapters accommodate various manufacturer specifications while maintaining secure connections throughout extended shooting sessions.
Common Placement Mistakes and Troubleshooting
Overhead lighting creates unflattering shadows beneath eyes and nose, producing raccoon-eye effects that diminish subject appeal. Avoid direct top-down placement except for specific dramatic requirements or special effect applications.
Insufficient separation between lights and backgrounds causes flat, dimensionless imagery. Maintain adequate distance between your background and subject to allow independent lighting control of each element within your composition.
- Monitor for double shadows indicating conflicting key light sources
- Check for color temperature mismatches between different fixture types
- Verify adequate ventilation around heat-generating tungsten sources
- Ensure electrical load distribution across multiple circuits
- Confirm proper barn door positioning to prevent lens flare
Hot spots on reflective surfaces require repositioning or diffusion adjustments. Metallic jewelry, eyeglasses, or polished backgrounds can create distracting specular highlights that draw attention from your primary subject matter.
Specialized Lighting Scenarios and Applications
Product videography demands precise lighting placement to eliminate unwanted reflections while maintaining accurate color rendition. Tent lighting or large diffusion panels create even illumination suitable for commercial applications and detailed demonstration content.
Interview setups benefit from asymmetrical lighting arrangements that create visual interest while maintaining professional appearance standards. Single-key setups with large softboxes provide efficient solutions for rapid deployment scenarios or limited equipment situations.
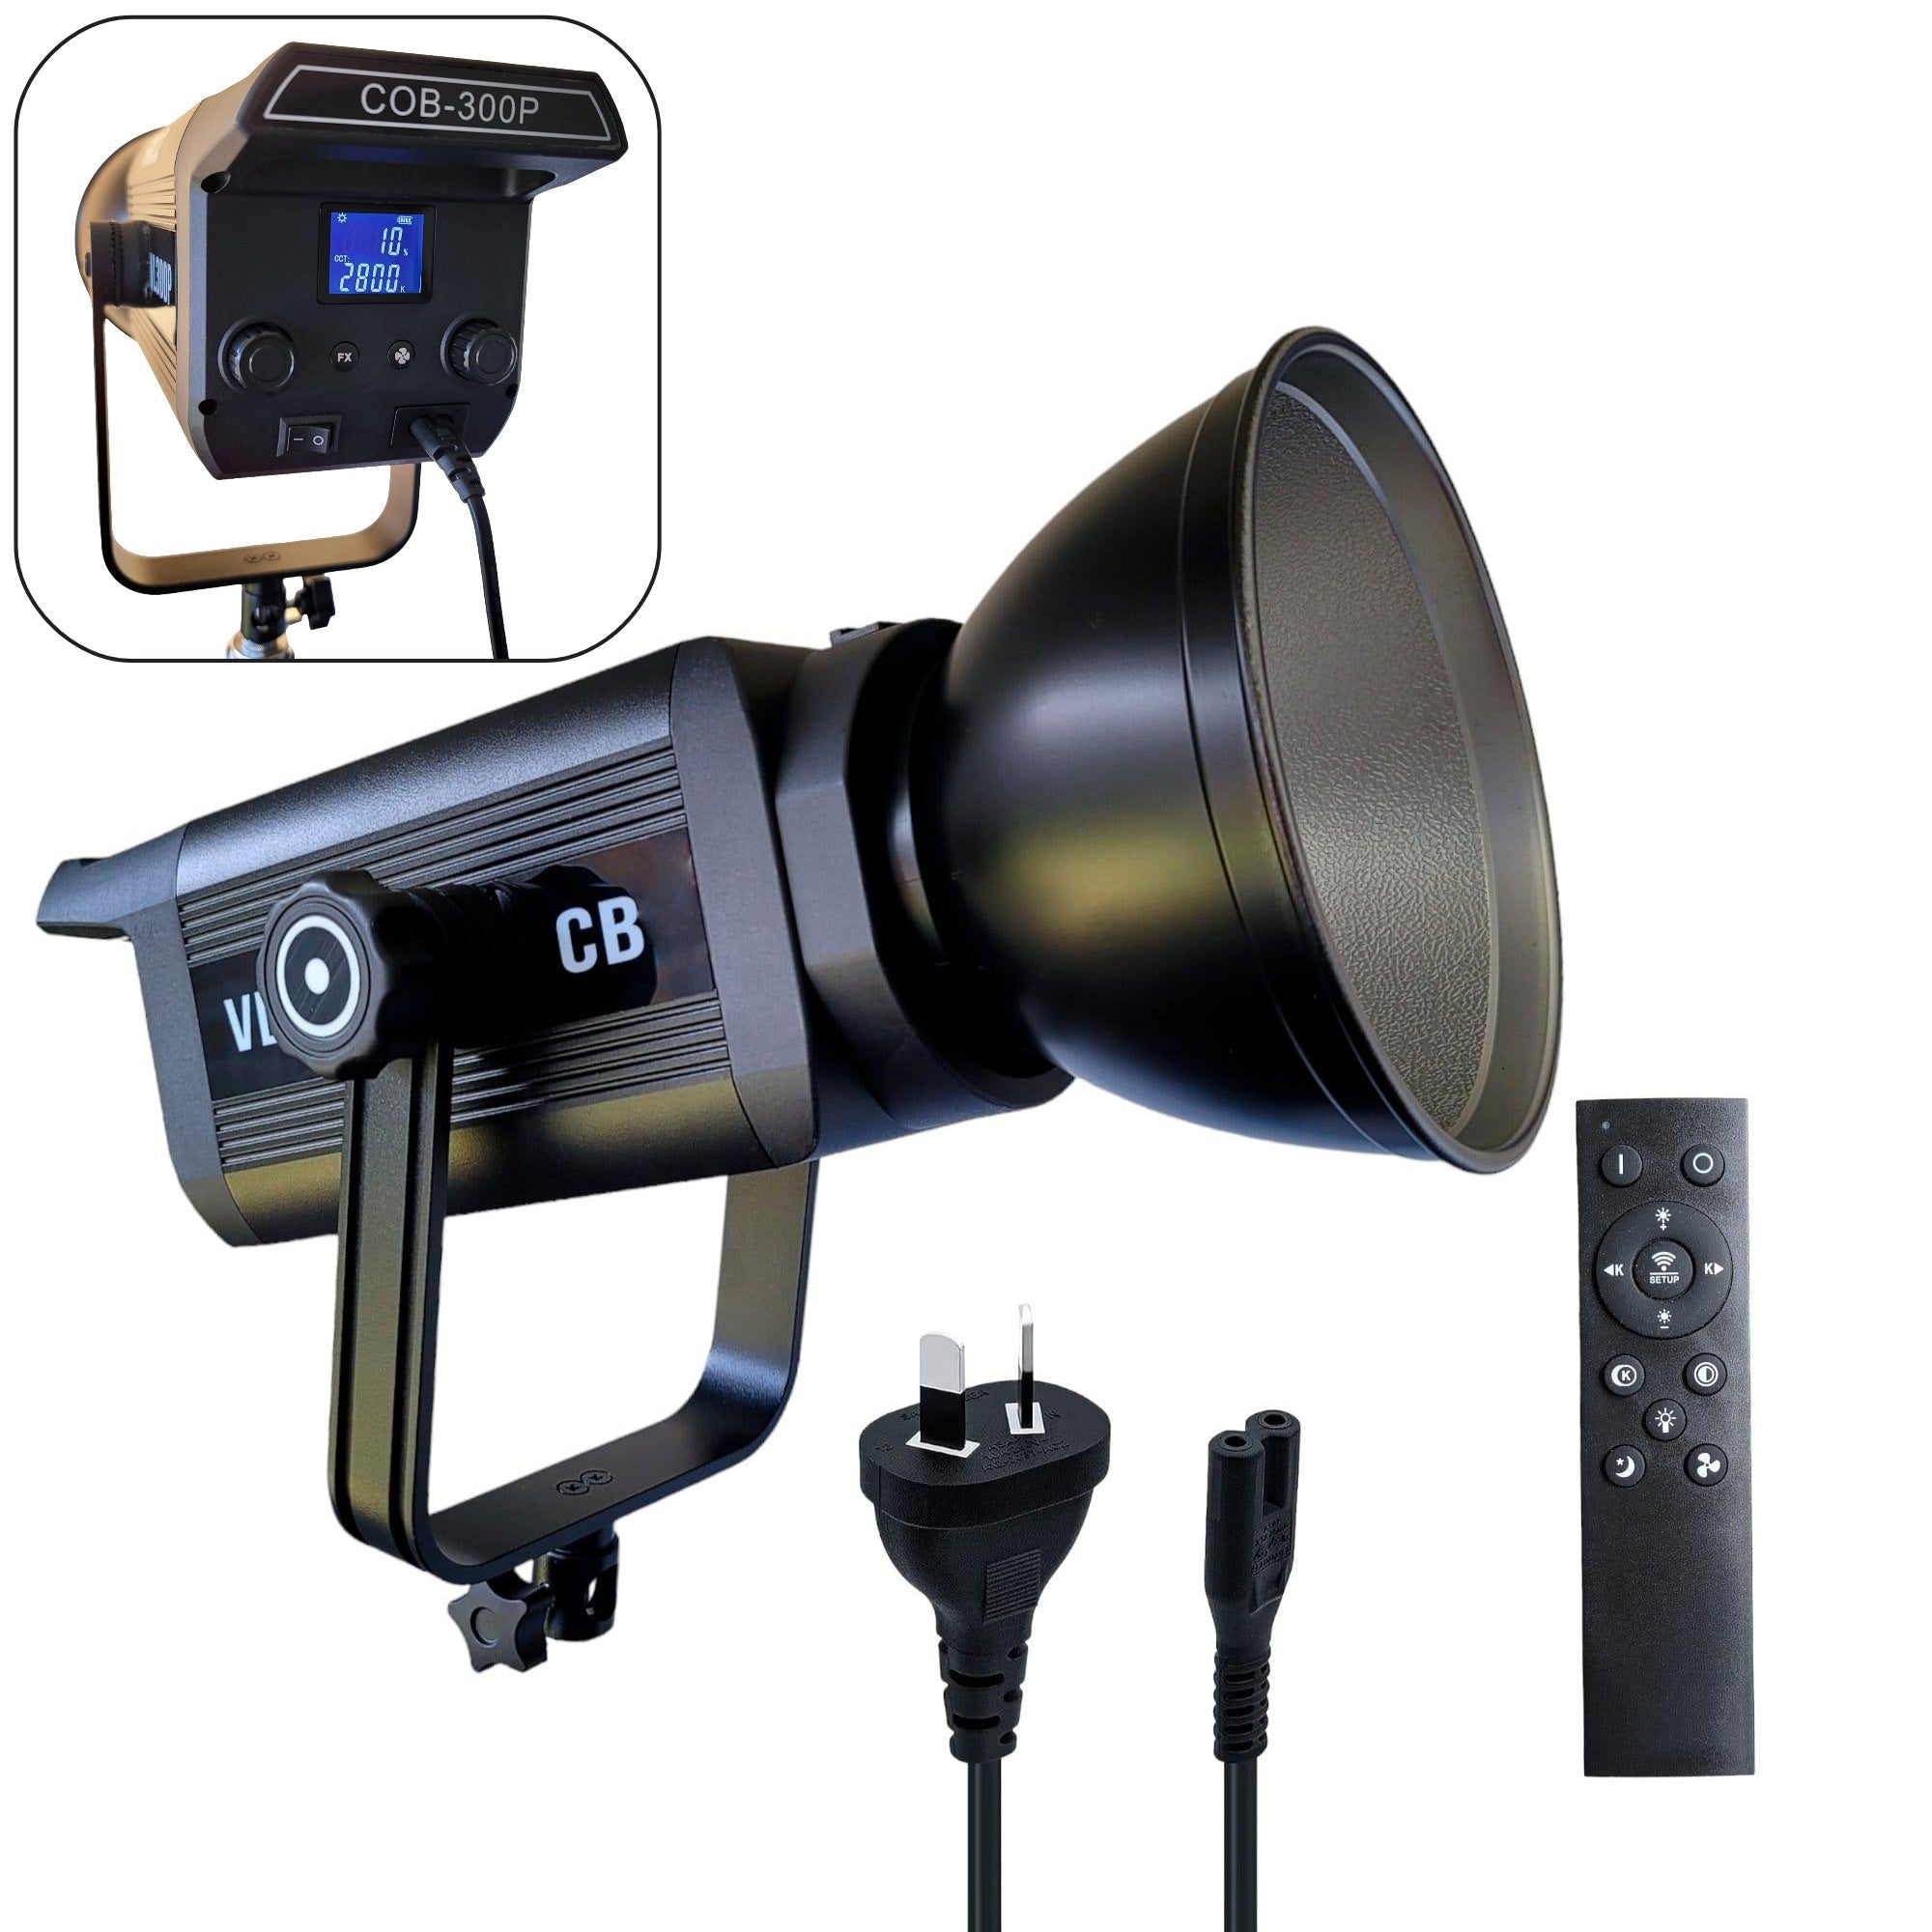
Documentary and event coverage requires portable lighting solutions that adapt to varying environmental conditions. Battery-powered LED panels offer mobility while maintaining color accuracy across different venue requirements. Remote lighting control systems enable real-time adjustments without interrupting ongoing activities.
How do you maintain consistent lighting quality across multiple shooting locations? Standardized equipment packages and documented lighting plots ensure reproducible results regardless of venue constraints or time limitations.
Optimizing Your Video Light Placement Workflow
Pre-production lighting plans streamline setup procedures while ensuring all necessary equipment reaches your shooting location. Detailed fixture lists, power requirements, and positioning diagrams reduce setup time and prevent forgotten essential components.
Light meters provide objective exposure measurements that complement visual assessment techniques. Incident and reflected light readings guide placement decisions while maintaining consistent exposure across multiple camera angles or shooting sessions.
Professional video lighting placement transforms ordinary footage into compelling visual content through strategic illumination control. Master these fundamental techniques to elevate your videography skills and create engaging content that captivates your audience while showcasing your technical expertise and creative vision.

Share:
Camera Microphone Setup: Complete Guide for Filmmakers
Nikon Battery Compatibility: EN-EL23 vs Other Models